How To Make Candles: Soy Candle Making As Meditation
Looking to learn how to make candles? You came to the right place! (Jump to tutorial)
Is there anything quite like that warm glow of candlelight? What single, small item can bring that sensation?
Candles are the symbols of romance, hearth and home. There is a reason why we put a candle in the window when we are missing a loved one. They connect us to that light of hope and love in our hearts.
Making candles connects us to the past and all the people who created them as a necessary tool to hold back the darkness. There is just something spiritual about it. When they are made as a gift, I like to think that they carry that sense of light and love from my home to theirs.
I think there is something especially profound about soy candles, because they:
– Are all natural.
– Are renewable and non-toxic, unlike paraffin made from petroleum, coal or oil shale.
– Produce less soot and burn cleaner than paraffin.
– Are easier to make. They burn at lower temperatures and the wax cleans up easily with just a little warm water.
– Produce a natural, beautiful shade of white, but they can also be colored or scented as desired.
Read More: Fragrant Jewels Review
You can find many other guides online on how to make candles but below is the simple process that I use.

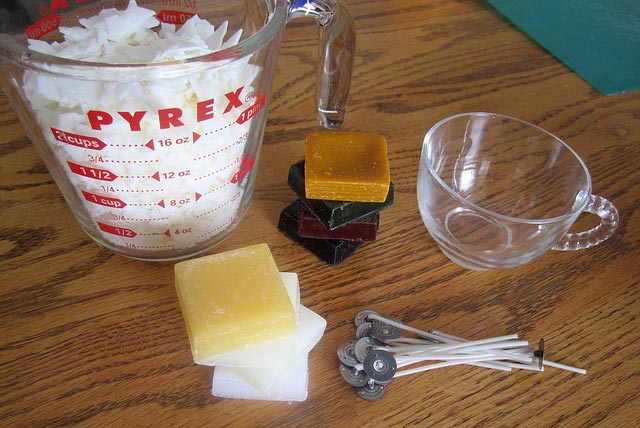
How To Make Soy Candles
Here’s how you can make some simple soy candles at home!

Total Time Needed :
12
Hours
30
Minutes
Total Cost:
10
USD
Required Tools:
Things Needed?
Steps To Make Soy Candles:
If you are reusing an old candle holder or container, pour boiling water into it and most of the old wax will float to the top. Use dishing liquid and hot water to clean out the rest and any residual soot. Make sure the containers are completely dry.
Measure your wick against your container, cutting it with a few cm to spare for the holder. Use a loop of scotch tape to stick the pre-tabbed wick to the bottom of each container. Use the skewer to press down on the tab. Some people recommend using a hot glue-gun, but the wicks can sometimes come unstuck. Place the wick in the wick bar or holder, across the top, checking to make sure that they are as tight and perfectly centered as possible.
Use each container twice to measure out enough wax chips. Melt them over boiling water in a pouring pitcher or pot that is good for pouring to 85°C or 185°F. Remove from heat right away and do not overheat the wax, or it could actually cause a fire! You could also use a microwave for this step by heating the wax for 1 minute then stirring it. Repeat. Repeat again, this time heating for only 20 seconds. Keep adding 20 seconds, stirring each time in between, until the wax is fully melted. Use oven mitts to handle the hot container.
Stir in fragrance or dye if desired. There are special essential oils that are specifically formulated for making candles. Use rubber gloves when adding the oil, because it isn’t supposed to touch your skin.
Pour a little bit of wax into your chosen containers and let stand 10 minutes to set the wick. Then, fill the rest of the container and let it cool at room temperature for at least 12 hours, depending on how large your containers are.
Remove the wick holder and trim to about 1.3 cm or 1/2 inch long. You can use special wick trimmers or just scissors.
Decorate as desired with labels, twine, ribbons or whatever you like. Again, be creative.
Read More: Voluspa Candles Review
Shopping List For Making A Soy Candle
If this is your first time making candles then we highly recommend the soy candle making set from Candle Science. It has pretty much everything you need in the guide above and contains enough material to make about 12 candles!
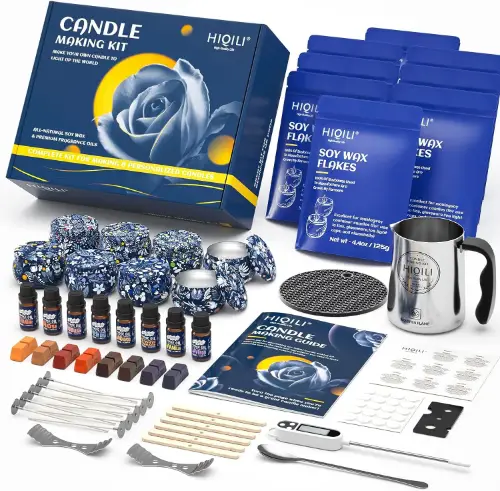
You can also find other great soy candle making kits on Amazon like this one!
Optional Materials

Candle Making Wax Dyes

Candle making fragrance oils. This set contains forest scents that are great for starting out!

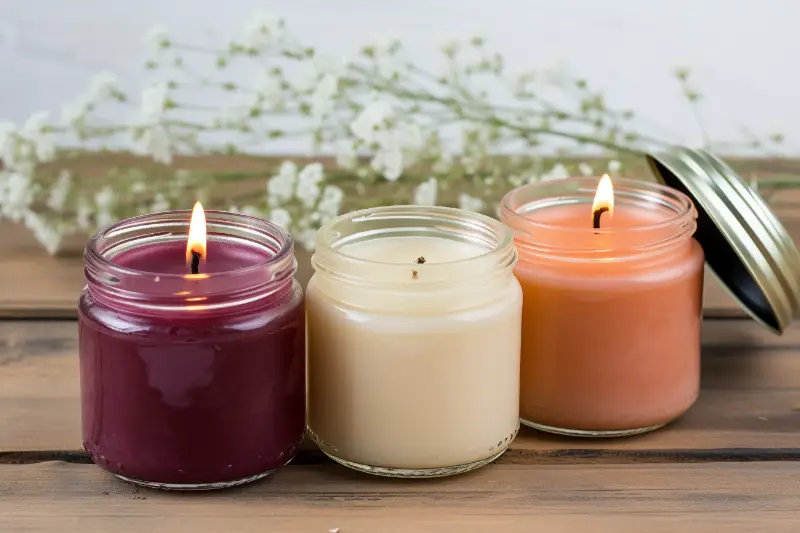

Very pretty candle in a cup! Thank you for sharing the how-to with us in SHARE IT 24 at http://www.FineCraftGuild.com I hope to see you there again over the weekend! ~ Rose
Thanks Rose, I will be sure to stop by again 🙂 I love your blog by the way!
It’s interesting to learn that when it comes to making candles that there are somethings that I might want to keep in mind to make sure that the process is done right. I am glad that you mentioned that one thing to consider doing is using a container twice to measure the wax chips. This is something that I will have to keep in mind to make sure that I am doing things correctly, and hopefully making them right.
Thanks for the comment Harper. And good luck with the candle making! 🙂
Not trolling. Not trying to be mean. If ANYONE makes candles according to these instructions, they will put every one and thing in danger by lighting the end result. Please do not make candles per these instructions. This is not the correct and NO WHERE near safe. Your friends and families lives are not worth a DIY craft gone bad. I have made candles for years and have grown my company to fully and comfortably support my family of 6 and it took YEARS to make a candle the right way. Please do not use this method.
I see that my last comment is awaiting approval which means someone must see this…I swear I’m not trying to be mean. I actually am enjoying browsing the site but please take down these “instructions” or at least edit them so they are not life threatening. Fire is no joke. Please.
Can I ask where the danger lies? I’m just starting out making candles, with the hope of being able to sell once I’m proficient enough, and am a little over-whelmed by the differing instructions I’ve seen online. Thanks
Listed below are simple steps using which you can make your own homemade scented candle:
Start by preparing a clean and flat surface covered with a newspaper or towel
Second measure the amount of wax required to fill the container
Start melting the wax by pouring it into the double boiler
Add the fragrance oil and stir for few seconds, it will provide an exquisite floral smell
Attache a wick to the bottom of the container before you start to pour the melted wax
Use chopsticks to secure the wick so that it remains centered until the wax solidifies
Wait for few seconds, once the temperature reaches 140 Degrees pour the wax into the container